
Application Integration Overview
Application Integration connects UPVOIT to other apps your company uses for accounting, payments, job photos, automation, SMS and email. Connecting an app keeps data in sync, so the same information doesn’t need to be entered twice.
To open it, click the gear icon and then Application Integration in the Settings menu.
View Integrations

The page shows a card for each available app, with its logo, name and a short description. Click a card to open its setup page, where you connect or disconnect the app.
QuickBooks Online
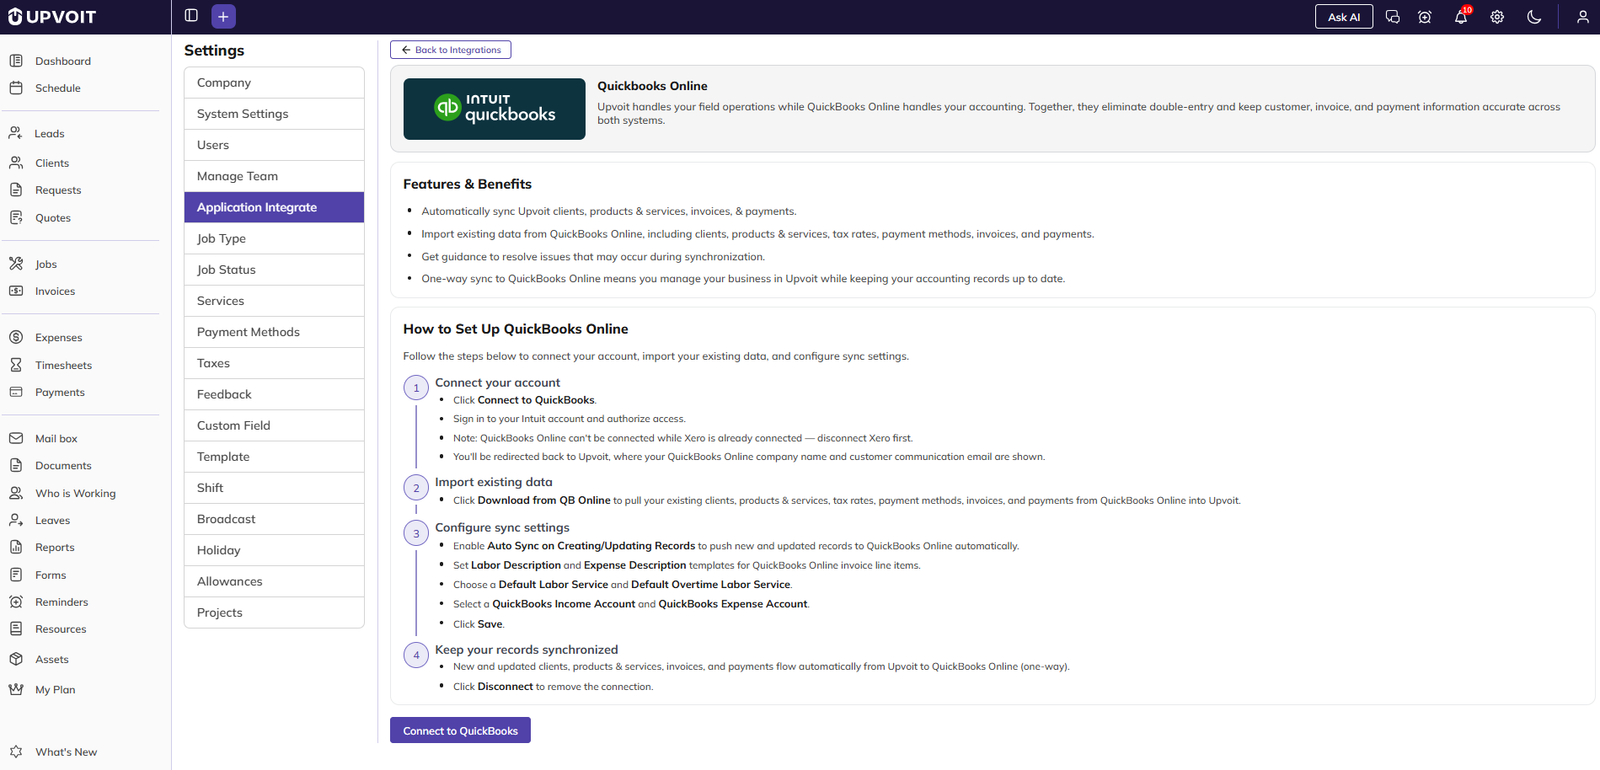
QuickBooks keeps your customer, invoice and payment information the same in UPVOIT and QuickBooks Online.
-
Clients, products and services, invoices and payments are synced automatically from UPVOIT to QuickBooks. The sync is one-way, from UPVOIT to QuickBooks.
-
Existing clients, products and services can be imported from QuickBooks Online, so both systems match from day one.
-
If there is a problem with synced information, UPVOIT shows guidance on how to fix it.
To connect QuickBooks, click Connect to QuickBooks and sign in to your QuickBooks account.
Stripe
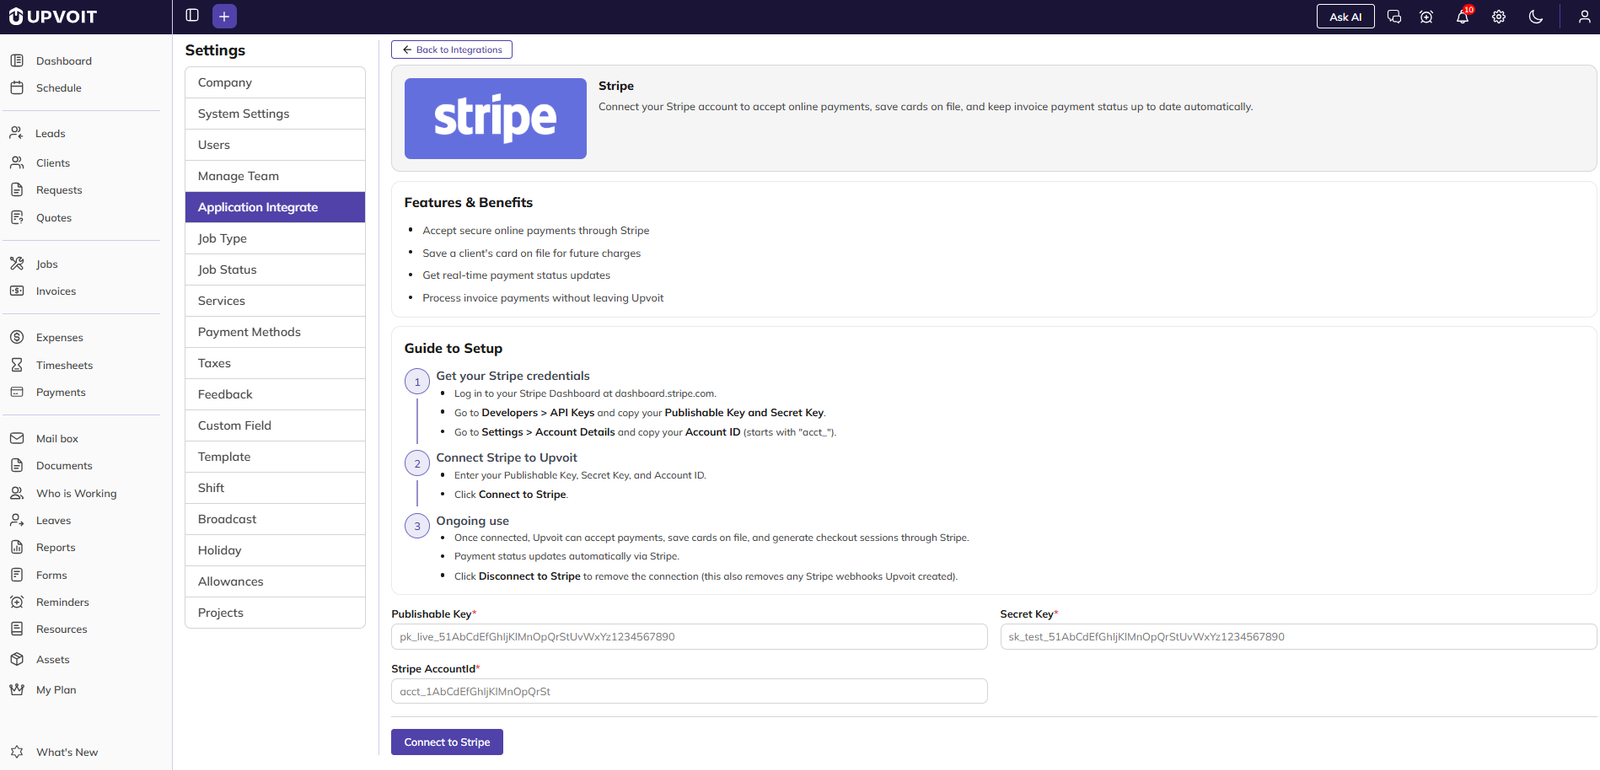
Stripe lets clients pay invoices online. It is used for payment links (Generate Payment Link Via on the Invoice tab) and for Card On File on the client page.
Stripe is connected using three details from your Stripe account. All three are required (marked *):
-
Publishable Key and Secret Key – in your Stripe Dashboard, click Developers → API Keys.
-
Stripe AccountId – in your Stripe Dashboard, go to Settings (or Business Settings), then Account Details. The ID usually starts with acct_.
Keep your Secret Key private and don’t share it with anyone.
To connect Stripe
-
Click Stripe Dashboard on the setup page, then log in or sign up.
-
Copy your Publishable Key, Secret Key and Account ID.
-
Paste them into the matching fields in UPVOIT.
-
Click Connect to Stripe.
CompanyCam

CompanyCam captures job site photos and syncs them with UPVOIT in real time, with all photos stored in one place.
To connect CompanyCam
-
Log in or sign up at companycam.com and set up your company profile.
-
Go to Settings → API and create an API key.
-
Use the API key to connect CompanyCam to UPVOIT.
-
Start capturing job site photos. They sync to UPVOIT in real time.
CompanyCam settings
When CompanyCam is connected:
-
Restrict Company Cam for Client and Client Contact Person – tick this to stop clients and client contact persons from accessing CompanyCam.
-
How photos are organised – choose how CompanyCam projects are created:
-
Individual – a new CompanyCam project is created for every request, quote and work order. Even when a request or quote is converted into a work order, each keeps its own project, so photos stay with that specific piece of work.
-
Client – projects are organised by the client’s properties. A separate project is created for each property, and all requests, quotes and work orders for that property share it. If there is no property, everything is grouped into one project for the client.
-
-
Disconnect to CompanyCam – click this to disconnect.
Click Save to save the settings.
Square

Square lets clients pay online and in person. It is also an option for Card On File on the client page.
To connect Square
-
Log in or sign up at squareup.com and set up your company profile.
-
Go to Apps → Create App and create an application.
-
Go to Settings → API Keys and generate an API key.
-
Use the API key to connect Square to UPVOIT.
When Square is connected:
-
Location – choose the Square location to use, then click Save.
-
Disconnect Square – click this to disconnect.
Zapier
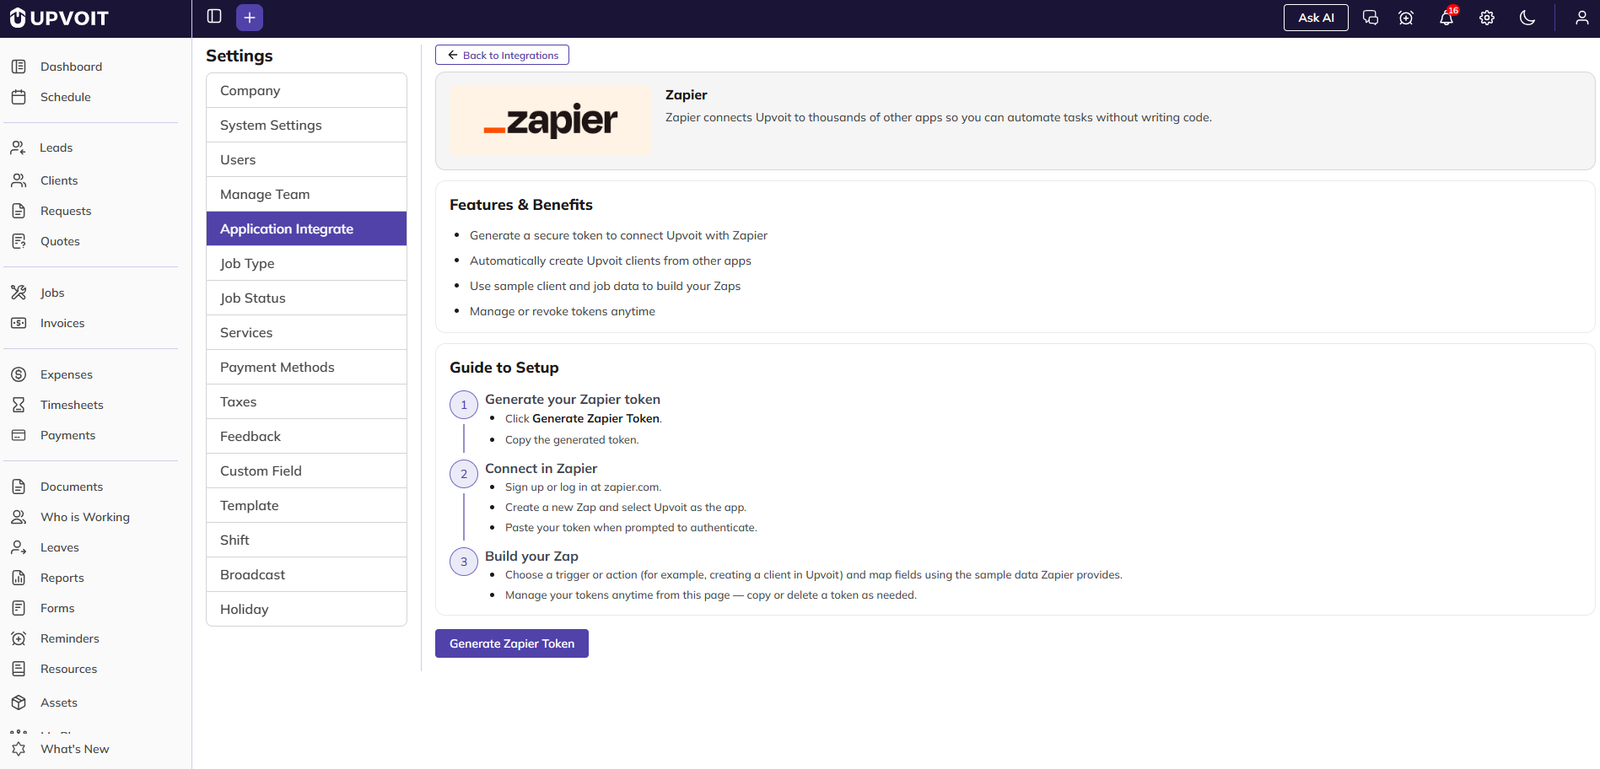
Zapier connects UPVOIT with thousands of other apps and automates tasks between them without writing code.
To connect Zapier
-
Log in or sign up at zapier.com and set up your company profile.
-
In UPVOIT, click Generate Zapier Token.
-
Copy the token using the copy icon under Zapier Tokens.
-
In Zapier, connect your UPVOIT account using the token.
-
Create a new Zap by choosing the options you need in the Zapier app.
To remove a token, click the red bin icon next to it.
Twilio
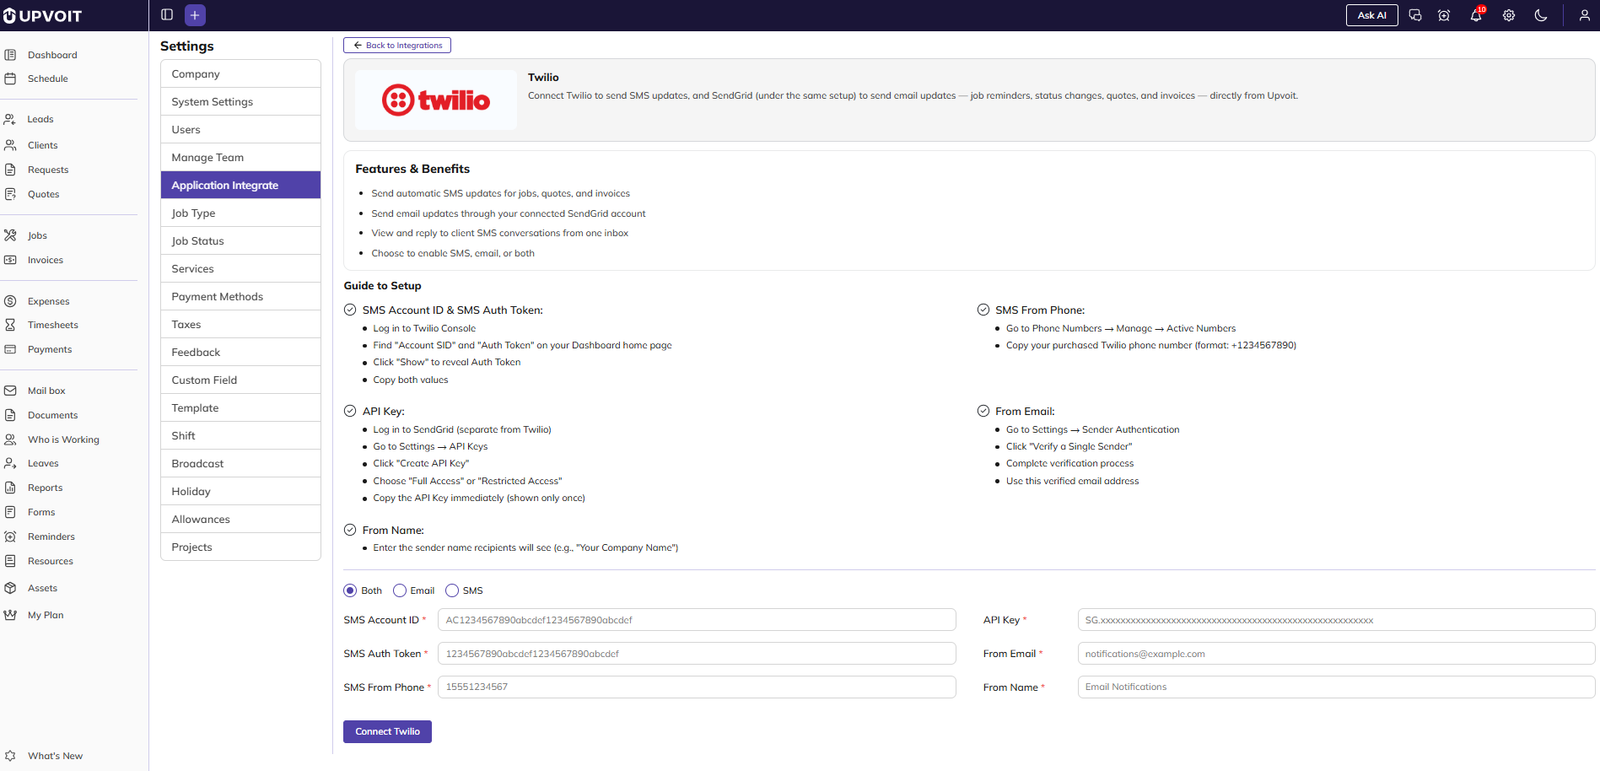
Twilio sends SMS messages from UPVOIT, such as work order notifications and payment reminders. The same page also sets up email sending through SendGrid.
Choose what to connect
-
Both – set up SMS and email.
-
Email – set up email only.
-
SMS – set up SMS only.
All fields for the selected option are required (marked *).
SMS details (from Twilio)
-
SMS Account ID and SMS Auth Token – log in to the Twilio Console. On the dashboard home page, find the Account SID and Auth Token. Click Show to reveal the Auth Token, then copy both.
-
SMS From Phone – the Twilio phone number your messages are sent from. In Twilio, go to Phone Numbers → Manage → Active Numbers and copy your purchased number (for example, +1234567890).
Email details (from SendGrid)
-
API Key – log in to SendGrid (a separate account from Twilio). Go to Settings → API Keys, click Create API Key, and choose Full Access or Restricted Access. Copy the key straight away, because it is shown only once.
-
From Email – the email address your messages are sent from. In SendGrid, go to Settings → Sender Authentication, click Verify a Single Sender, complete the verification, and use that verified address.
-
From Name – the sender name recipients will see, for example your company name.
To connect Twilio
-
Choose Both, Email or SMS.
-
Enter the details for the selected option.
-
Click Connect Twilio.
Xero Online
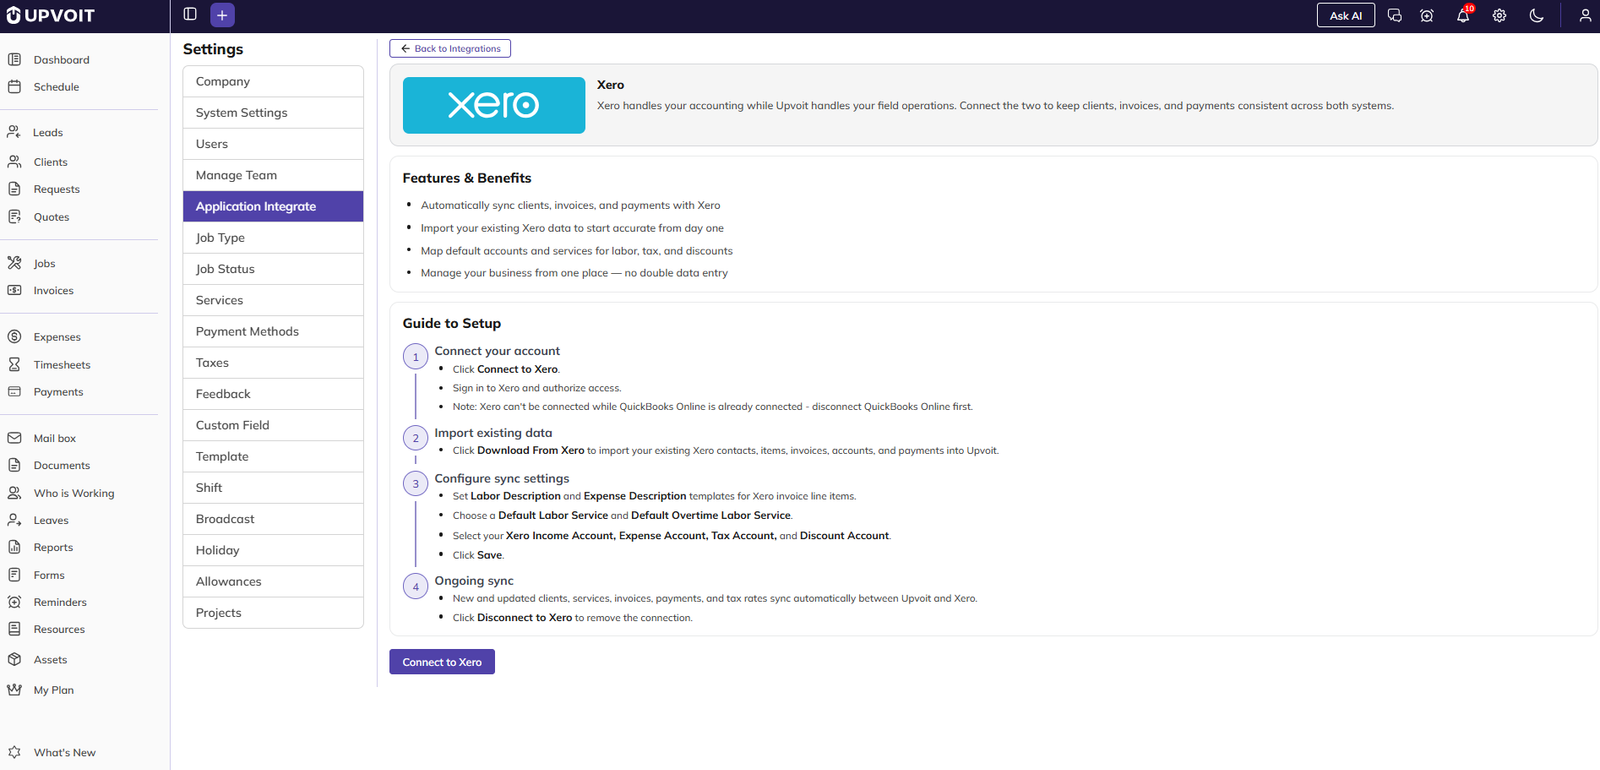
Xero keeps your invoices, payments and customer data the same in UPVOIT and Xero.
-
Invoices and payments are synced automatically with Xero.
-
Invoices can be created and updated directly from UPVOIT.
-
Customer and billing data stay consistent across both systems, which reduces manual entry and accounting errors.
To connect Xero, click Connect to Xero and sign in to your Xero account.
Razorpay
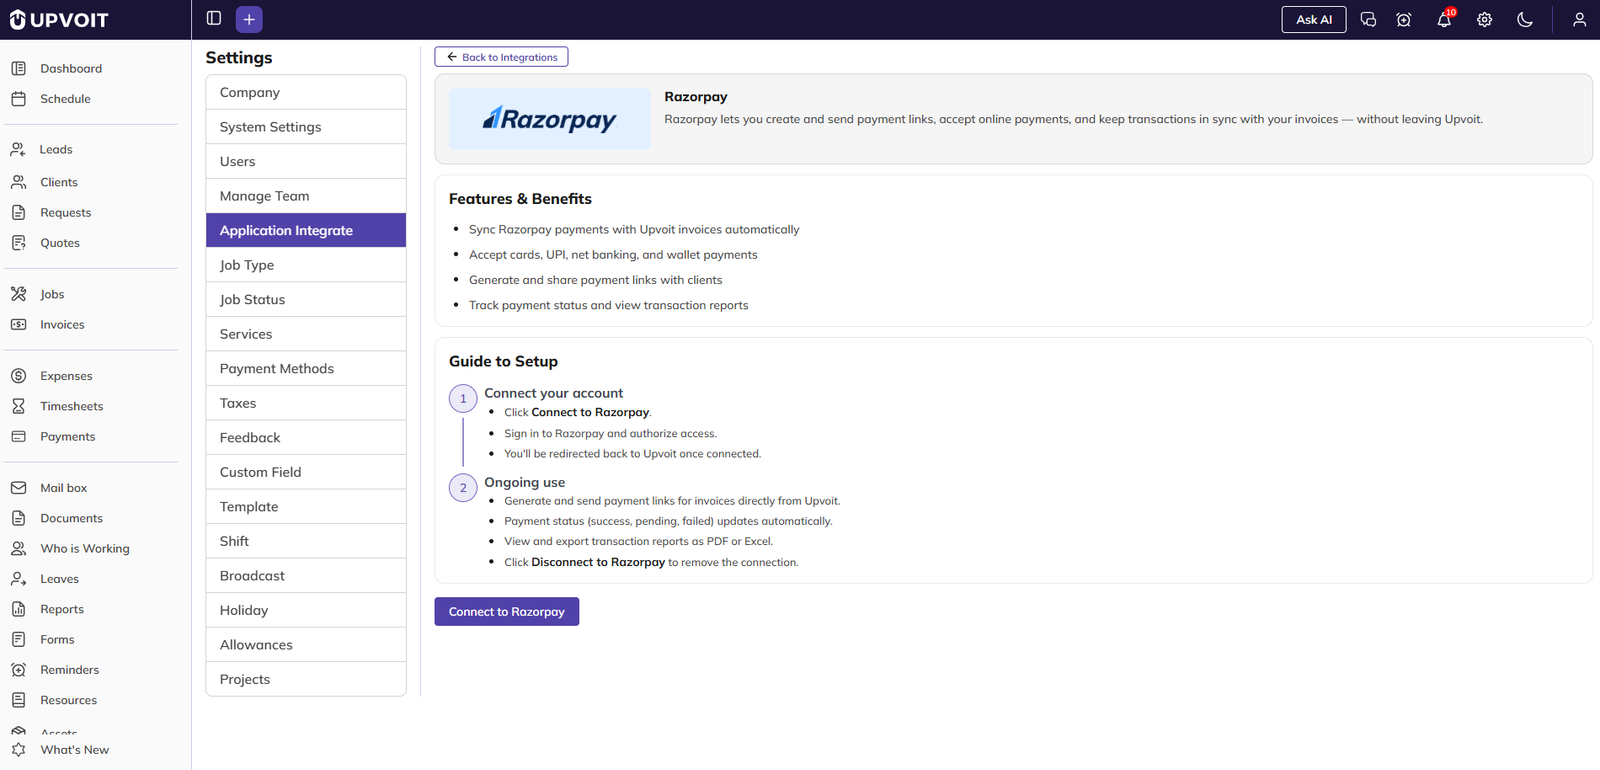
Razorpay collects online payments and keeps payment transactions in sync with UPVOIT.
-
Payments made through Razorpay are synced automatically with invoices in UPVOIT.
-
Clients can pay by card, UPI, net banking or wallet.
-
Payment links can be created and shared with clients for faster payment.
-
Payment status (success, pending or failed) can be tracked with transaction details.
To connect Razorpay, click Connect to Razorpay and sign in to your Razorpay account.
SMTP
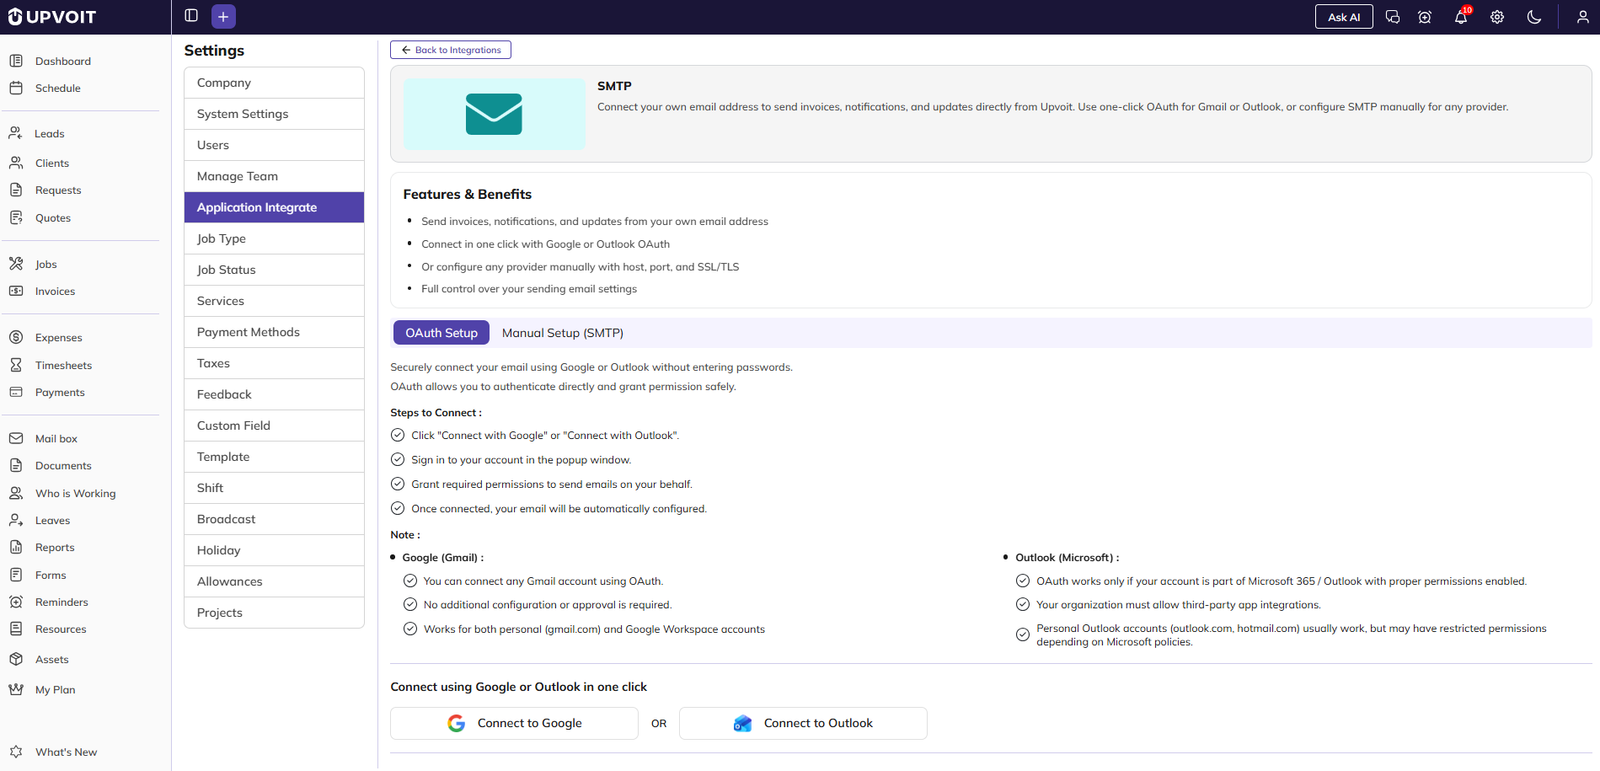
SMTP lets UPVOIT send invoices, notifications and updates from your own email address, with full control over your email settings. There are two ways to set it up: OAuth Setup and Manual Setup (SMTP).
OAuth Setup
Connect your Google or Outlook account securely, without entering a password.
-
Click Connect to Google or Connect to Outlook.
-
Sign in to your account in the popup window.
-
Allow UPVOIT to send emails on your behalf.
-
Your email is set up automatically.
Notes:
-
Google (Gmail) – works with any Gmail account, including personal gmail.com and Google Workspace accounts. No extra setup or approval is needed.
-
Outlook (Microsoft) – works with Microsoft 365 and Outlook accounts that have the right permissions. Your organisation must allow third-party apps. Personal Outlook accounts (outlook.com and hotmail.com) usually work, but may have limited permissions depending on Microsoft’s policies.
Manual Setup (SMTP)

Use this option to connect your email by entering your email server details. It needs your email credentials and an app password for secure sign-in. All fields are required (marked *):
-
From Email – the email address your emails are sent from.
-
Display Name – the sender name recipients will see, for example your company name.
-
App Password – your email account’s app password. App passwords are recommended for Gmail and Outlook, and are required if two-factor authentication (2FA) is turned on. Click the eye icon to show or hide the password.
-
Host – your email provider’s SMTP server, for example smtp.gmail.com or smtp.office365.com.
-
Port – the server port. Use 587 for TLS (recommended) or 465 for SSL.
-
Enable SSL – select Yes to use a secure connection.
-
User Name – your email login, usually your email address.
Email Inbox

Email Inbox connects your company mailbox to UPVOIT, so customer emails can be managed in one inbox. Incoming emails can be turned into requests, quotes or work orders in one click. There are two ways to set it up: OAuth Setup (Recommended) and Manual Setup (Email Inbox).
To connect your mailbox (OAuth Setup)
-
Click Connect to Google or Connect to Outlook.
-
Sign in to your account in the popup window.
-
Review and allow the requested mailbox permissions.
-
Under Select a folder to connect, tick the folders you want UPVOIT to check for incoming emails. At least one folder is needed. Use Search folders to find a folder, or Select All to choose all of them.
-
Your mailbox is set up automatically.
Your password is never shared with or stored by UPVOIT.
Notes:
-
Google (Gmail) – supports personal Gmail and Google Workspace accounts. No administrator approval is needed. You can choose which Gmail labels or folders to sync.
-
Outlook (Microsoft) – supports Microsoft 365 and Outlook.com accounts. Administrator approval may be needed, depending on your organisation’s Microsoft policies. You can choose which folders to sync.
When connected
The page shows Connected to Outlook (or Google), with the connected name and email address. It can take up to 5 minutes for emails to appear in your inbox after connecting. To disconnect, click Disconnect.
Once the mailbox is connected, a new Mailbox menu appears in the sidebar. Open it to view and manage incoming customer emails. If the mailbox is disconnected, the Mailbox menu is hidden.

Did this answer your question?


